A pincushion and two pouches for starters

My journey with the Adult Learning classes here in Newark continues, I’m currently attending the Machine Sewing for Beginners class for bags, and while I’m not a beginner with my sewing machine, I am new to bags. I also want to up my skill levels on putting in zips and buttonholes and as both of these are covered in the 6 week course, and knowing how good the courses I’ve been on so far have been, I signed myself up.

This is actually my third course - I started with the Gelli Plate Printing class and then quickly followed that with an Indian Block Printing and Stitch course, which was amazing and I’m hooked on printing onto fabric. I’ve not shared much of that yet, and none here though you may have seen some on my Instagram feed and stories, but I have so much to share from that one, so keep an eye out for that.

The class is small - there’s just five of us and the tutor, and the skill level is mixed which is something I anticipated when I signed up. However there is still much to learn, especially as I’m using a machine provided by the course which is a newer model than mine and has a top loading bobbin which I’d not seen before, and it’s also nice to spend time with other people doing the same thing.

It’s also been hands-on too, some theory obviously, but not overly so. In fact the first week we all left having made a pincushion, so that was nice. As I wasn’t sure what it’d be like or what we would start with, I decided to take along fabric that wasn’t at the top of my favourites list, and that which I’d probably not rush to use.

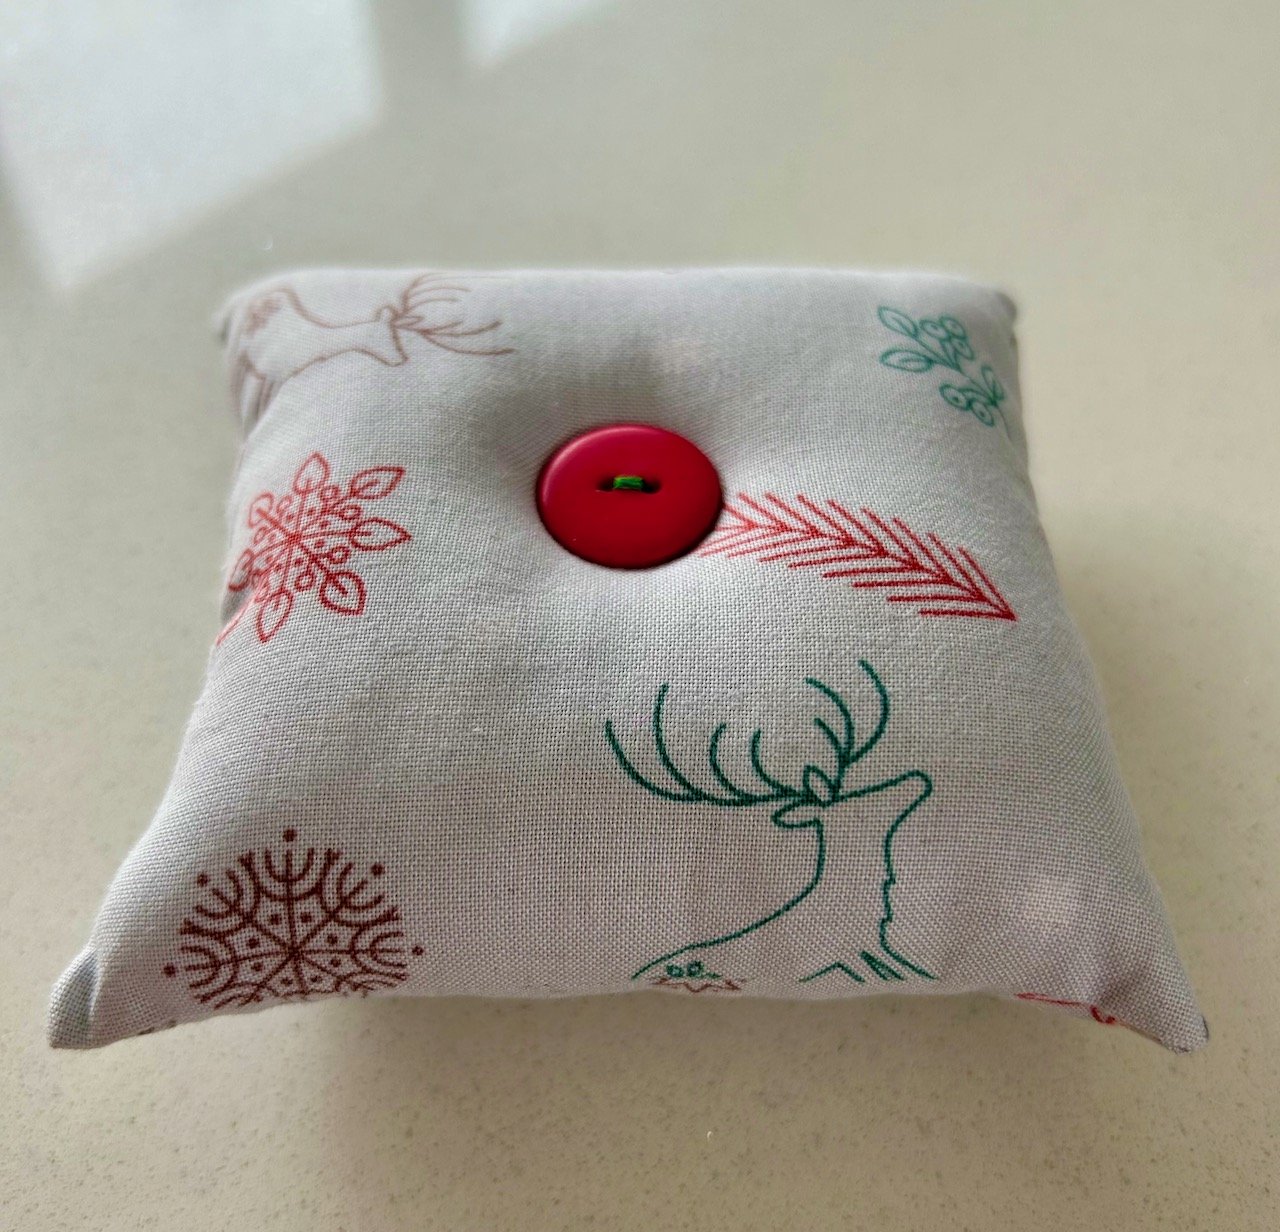
And so that first week I made a Christmas pincushion, like you do!

A light grey square fabric pincushion, the material has snowflakes arrows and reindeers in red, green and brown line drawings - and there's a large red button at the centre

I’d misjudged the seam allowance on the new-to-me machine and only realised once I’d turned the pincushion the right way through, which meant that hand sewing the closure was more tricky than it needed to be and therefore it wasn’t as neat as it could have been.

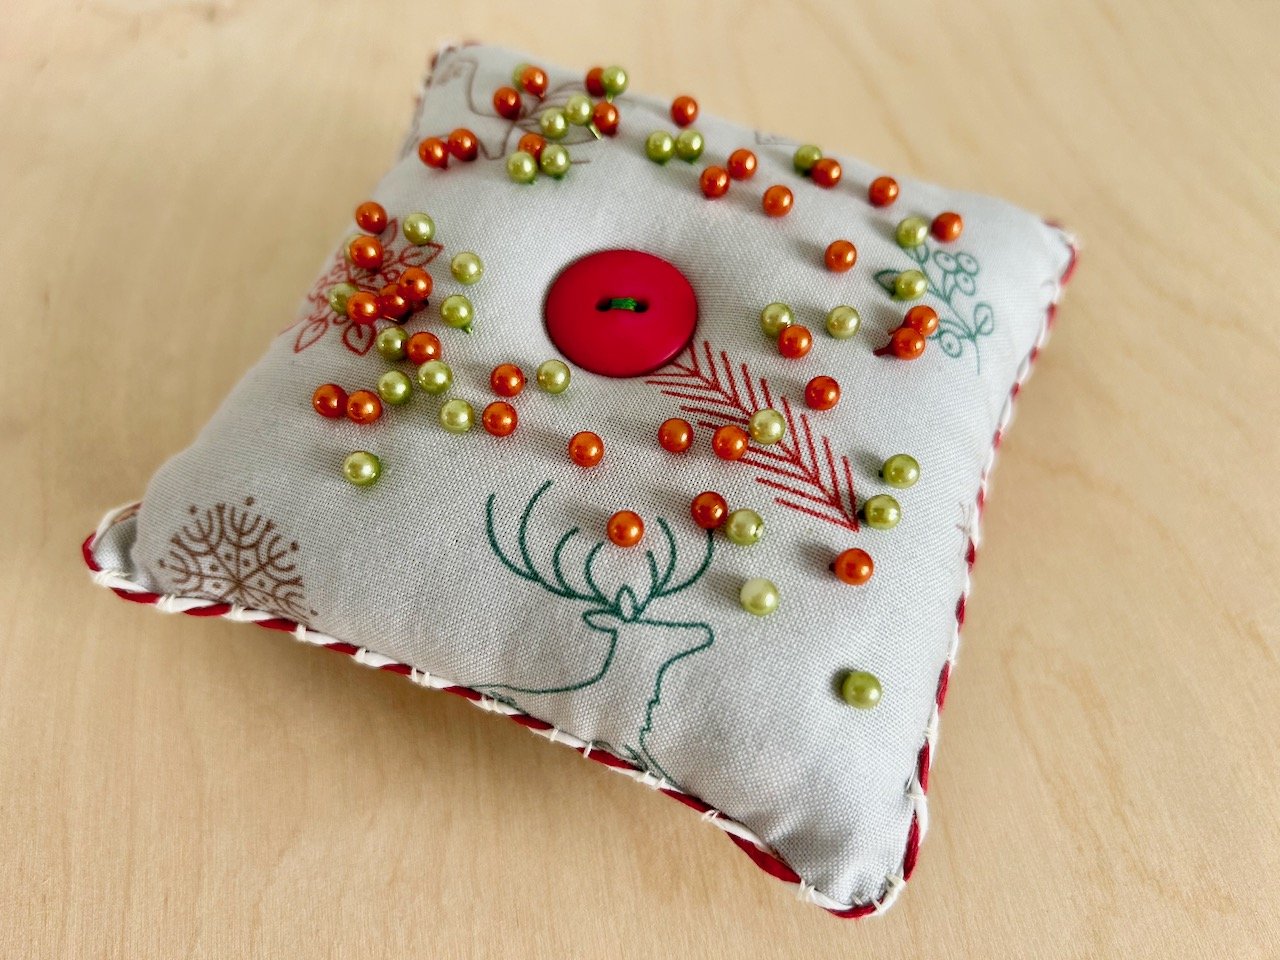
That annoyed me in a minor way, but later on I realised that I could pimp up my pin cushion and make it even more Christmassy by adding a simple red and white twine around the edge. The ‘twine’ I used is actually paper (but quite solid) which I’d saved from Christmas presents last year!

the same pincushion as the previous photo, now with orange and green pins pressed into the top and a red and white trimming around the seamed edge

There was nothing wrong with it before, but I’m much happier with it now!

Next up it was a simple pouch, and for this we needed two pieces of material - outer material and lining - approximately the size of an A4 sheet of paper. While I had my B team material to choose from, I also had something else in mind. It was a bit smaller than needed but as this sort of pouch can be flexible on size I decided to go for it, and left with this completed pouch.

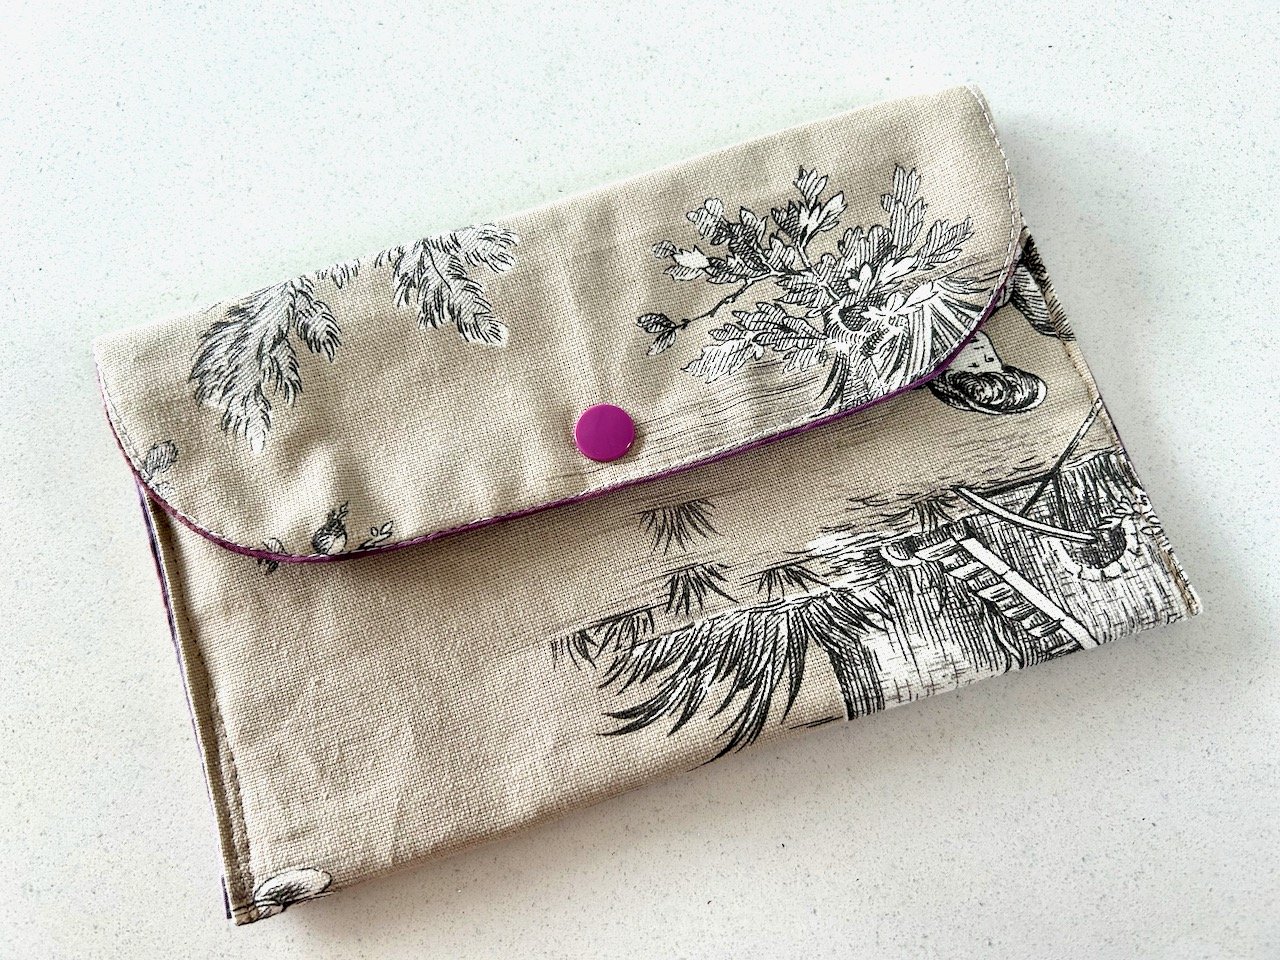
A cream pouch with black and white printed detail and a purple popper

I’ve not made anything like this for a long time, and this was easier than I remembered. As the tutor said she’s a big fan of straight line sewing, and this is mostly that - and the purple popper sets it off nicely too, and complements the purple batik lining (which was firmly in my B team fabric list).

There was one part that I wasn’t entirely happy with (again) - if you look in the bottom left hand corner you can see the sewing is a bit wild where I started off and revved the machine a little too much and off it went! It was a shame it was on the plain background of the material, had it been on the other side in the pattern I don’t think I’d have noticed it quite so much.

But I wasn’t undoing it, this was a practice pouch and it still worked perfectly well.

Then I realised I had some ribbon that was very similar to the background colour, so I dug that out and added an embellishment in that corner, front and back.

The opened pouch showing purple batik lining, and the addition of a toning trim in the bottom left hand corner

Now it looks as if it was always meant to be there, and I’m much, much happier.

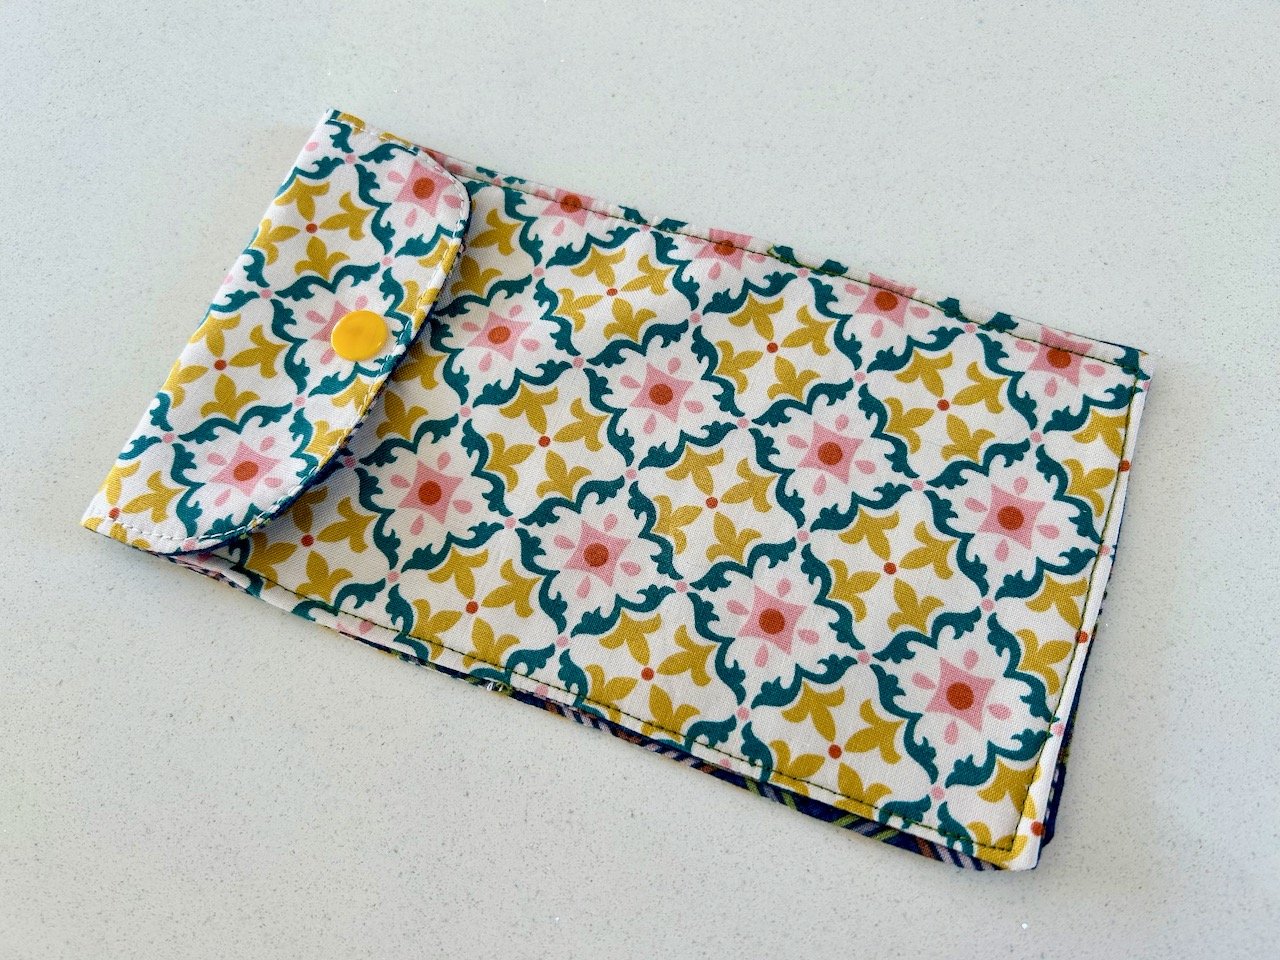
I also got to start another similar but different pouch - one that’s ideal for sunglasses, and as I didn’t have sunglasses case it was perfect for me. I choose A team material for the outside, and again B team material for the lining. There’s nothing wrong with the lining material, but I think a lot of what I’m calling my B team materials just look better in small doses!

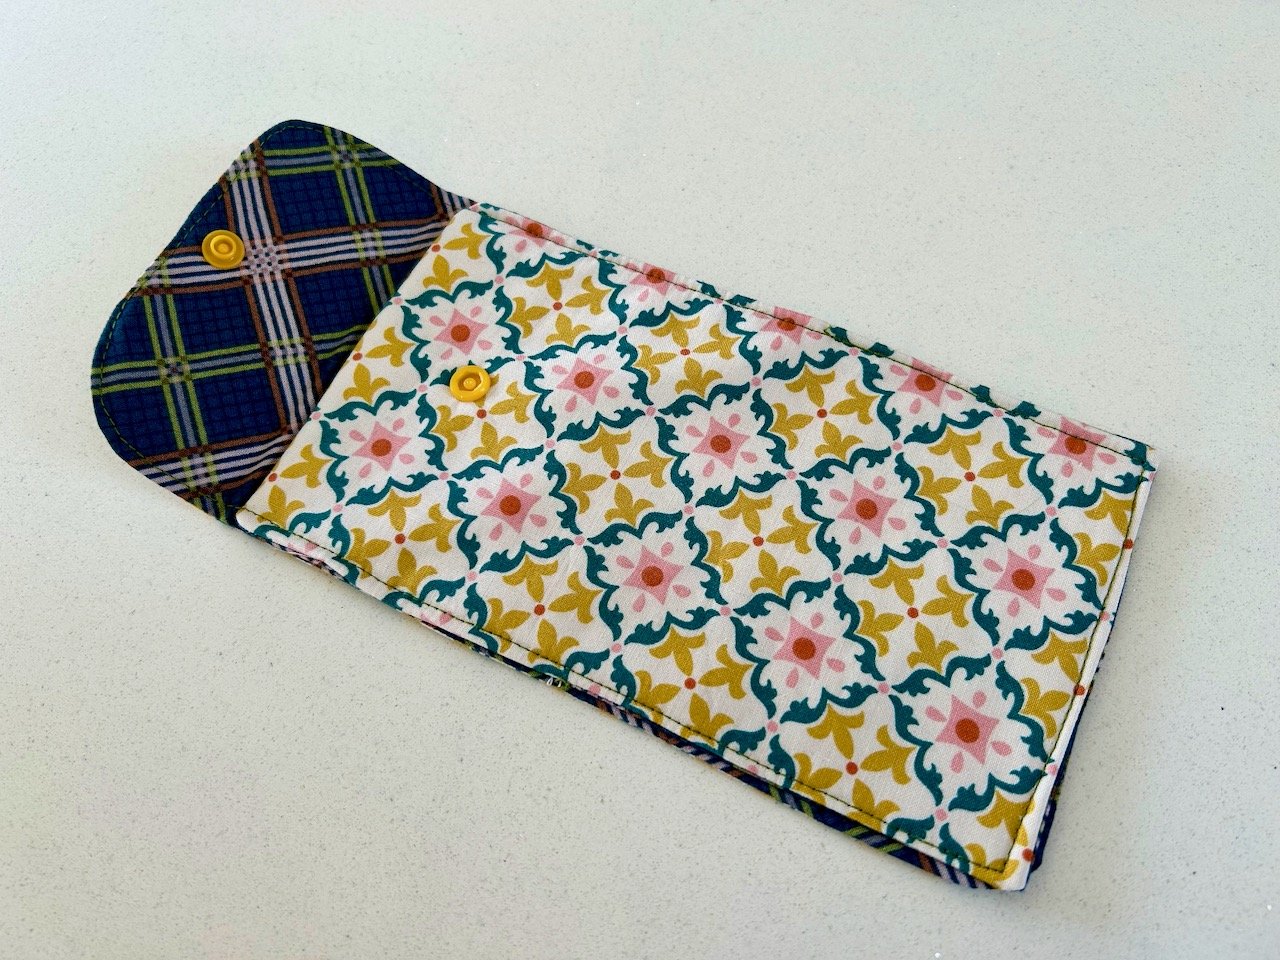
The same pouch as the photo above, this time with the flap open to show the lining - navy with a green/blue and white/brown checked design

The outer material reminds me of Portuguese tiles, and the lining of a man’s shirt from the 1970s!

And for a change this one hasn’t been pimped up, I finished it in the third week of the course just as the sun decided to make an appearance (at last!) - so I couldn’t have timed it better!

Post Comment Love 10 - 12 May

Hello there, and welcome back to this week’s #PoCoLo - a friendly linky which I co-host with Suzanne, where you can link any blog post published in the last week. We know you’ll find some great posts to read, and maybe some new-to-you blogs too, so do pop over and visit some of the posts linked, comment and share some of that love.

Please don’t link up posts which are older as they will be removed from the linky, and if older posts are linked then please don’t feel that it’s necessary to comment on those. If you were here last week it was great to have you along, if you’re new here this week we’re pleased you’ve joined us.

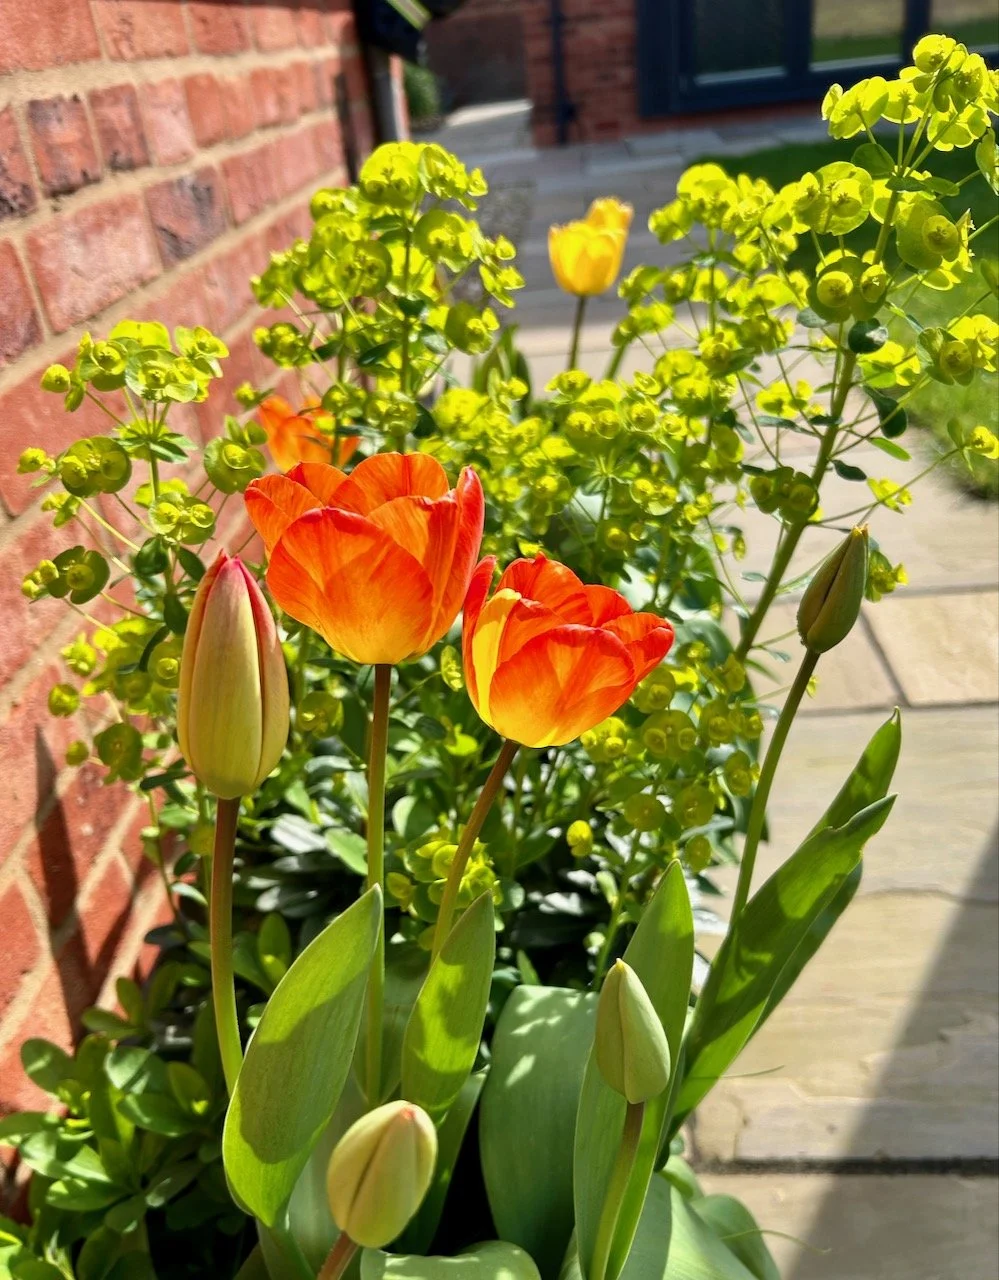
We’ve had some great weather this week, and I couldn’t let the opportunity pass without sharing that - it’s been lovely to get out in the garden, and sit out in the garden too. It’s so different to the weather we’ve had recently, that it feels as if someone’s flipped a switch straight to summer.

I started a new gym class this week, ominously named Body Blast - I survived! It was a new class too, and fortunately - or unfortunately, it goes both ways to be honest, I was the only one to turn up. So I got a personal training session, which was great, but there was nowhere to hide!

Enjoy your week, and spare a thought for my abs (which I’ve rediscovered this week!)

Looking up to the bluse sky with clouds, but warmth from the sun

You are invited to the Inlinkz link party!

Click here to enter

The Fontana Garden

* I was invited to the press preview for and provided with a pair of tickets to Gardeners’ World Live so I’m marking posts from the show as 'Ad’ - as usual my views and opinions are very much my own. Be sure to check out all of my posts from the show.

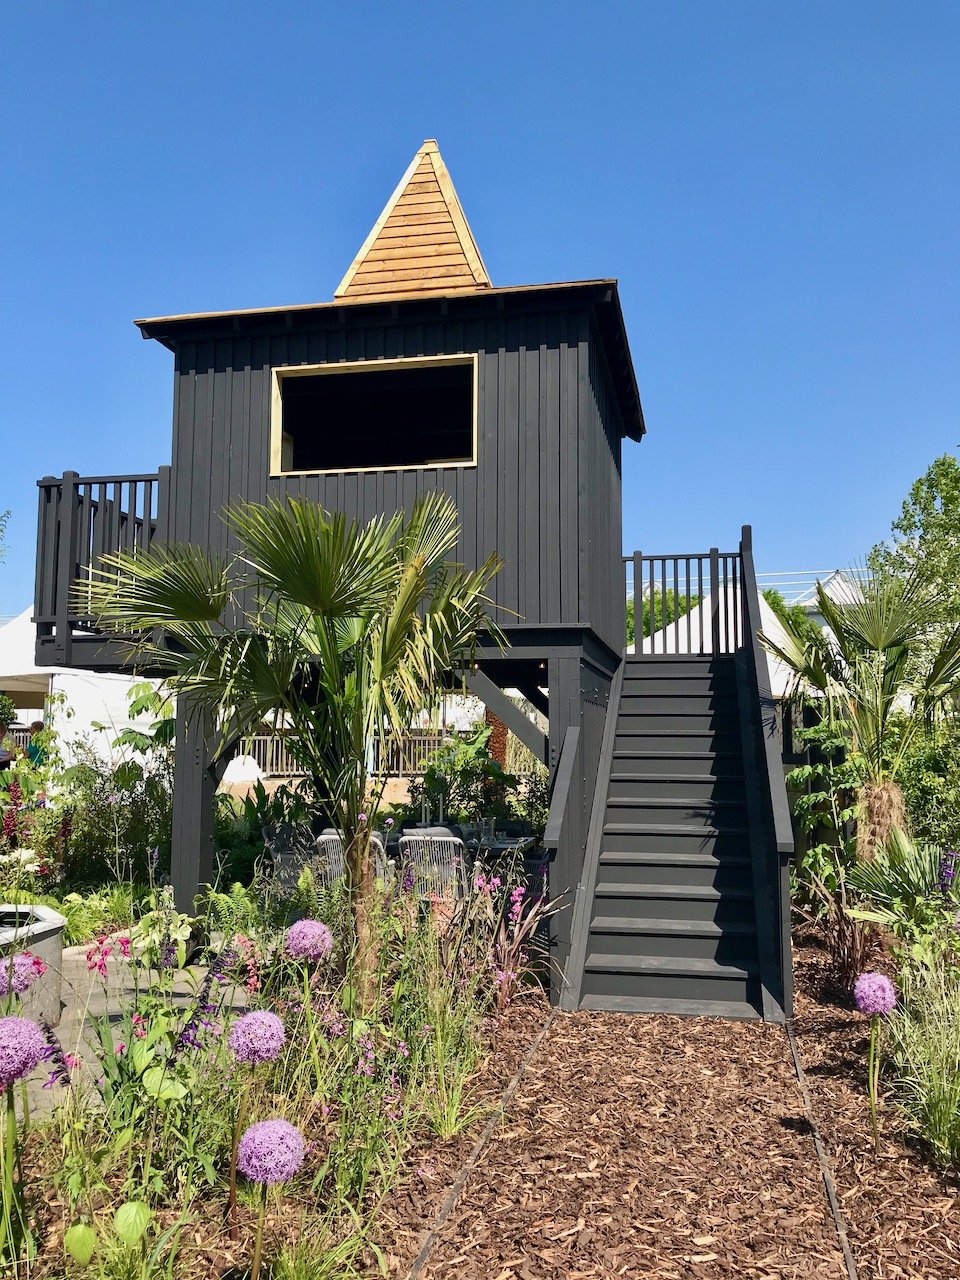
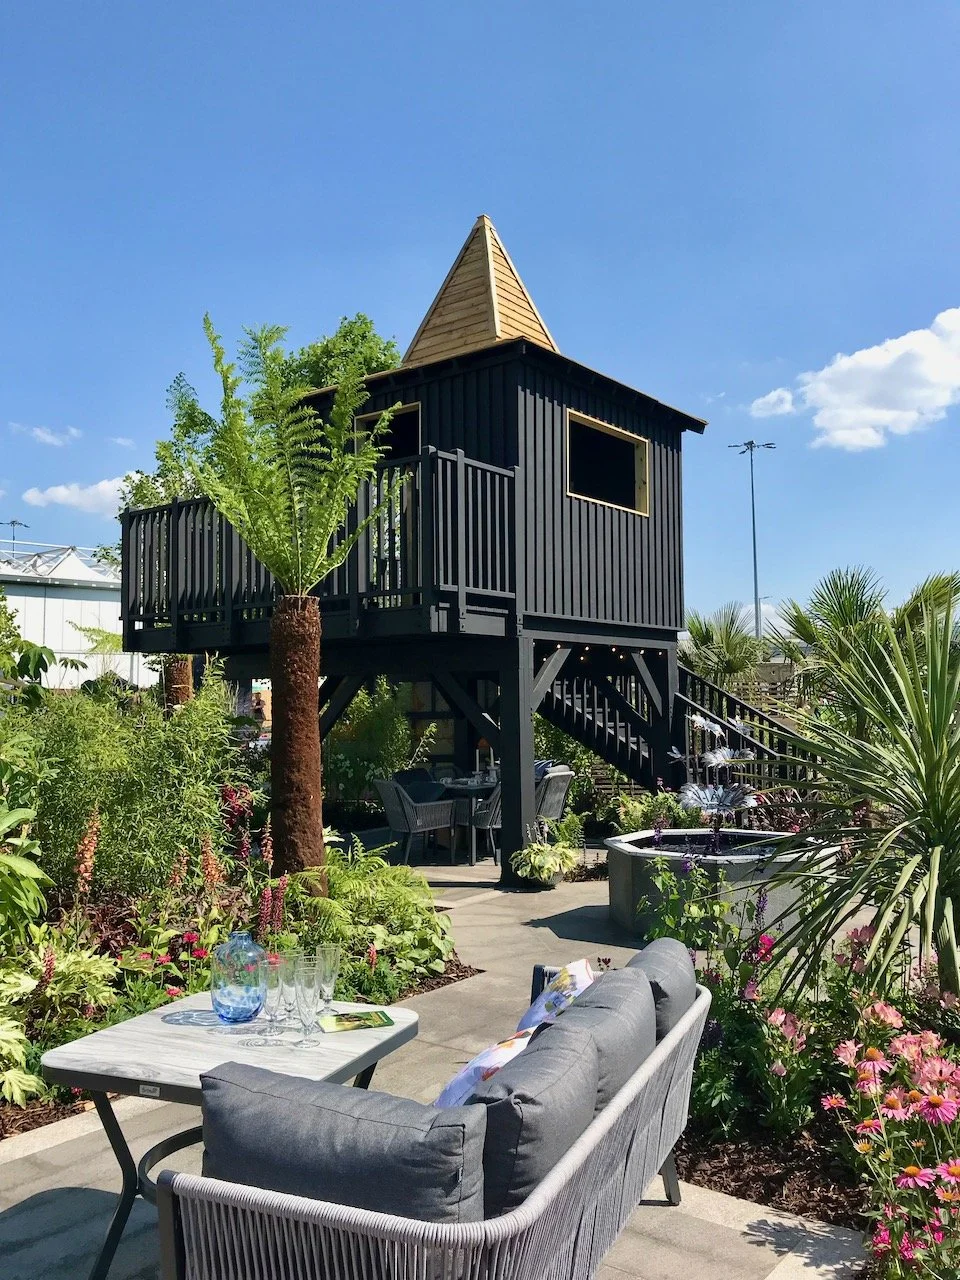
This garden is pretty special, and for a number of reasons. Firstly it’s incredibly striking - though I think the blue skies and warm temperatures helped, but also because it was sponsored by 92 year old Derek Bishop whose lifetime ambition has been to be park of a show garden, but mostly because after the show this garden will live on and was gifted to Cornwall Hospice Care. It was designed by Kim Parish with that in mind, and I’m sure it will be a fantastic space for patients, their families and the hospice staff.

The garden uses clever design to incorporate seating and dining areas, making use of the shaded area beneath its main focus, as well as a water feature which I’m sure will be calming both while it was at the show and in its future location. The planting features alliums heavily, along with tree ferns - there’s something about how they sway in the breeze that’s also calming isn’t there.

purple headed alliums among greenery in one of the beds behind the seating area
A closer look at the space under the raised garden building which holds a dining table for eight, in the foreground there are ferns and to the left a water  feature

It’s funny though looking at these pictures a year on and the structures are not that dissimilar to our new garden - well, except that our garden structures are the garage and trellis around the heat pump, but the ribbed cladding and dark colour is similar-ish!

A bark mulched path with alliums either side leads the way to the black stairs of the fontana's main feature, tree ferns add height and softness either side of the stairs

We clearly don’t have the planting, but again this post is a good reminder to be bold and to use plants we love - that’ll be ferns and alliums on my plant wish list then!

The Fontana Garden is a gorgeous garden though isn’t it?

* With thanks to Gardeners’ World for inviting me to Gardeners’ World Live, it was as fabulous as ever!